


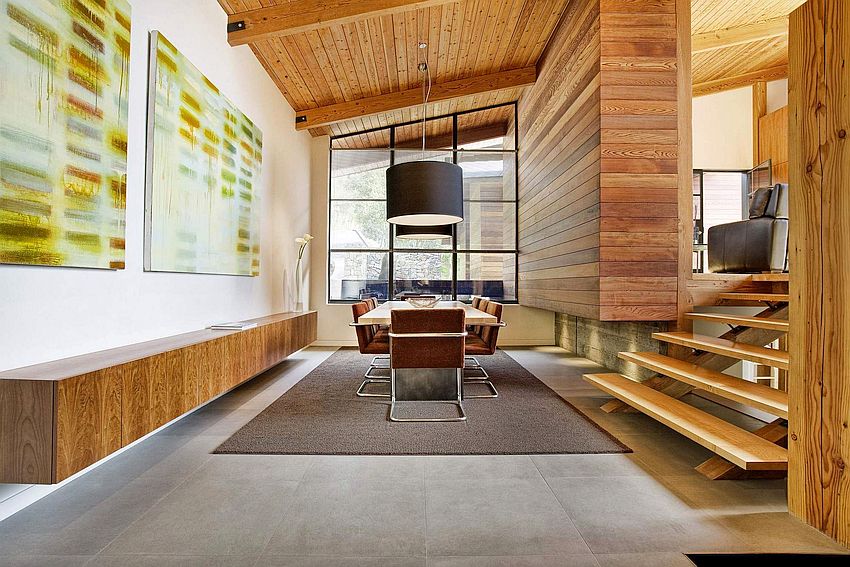
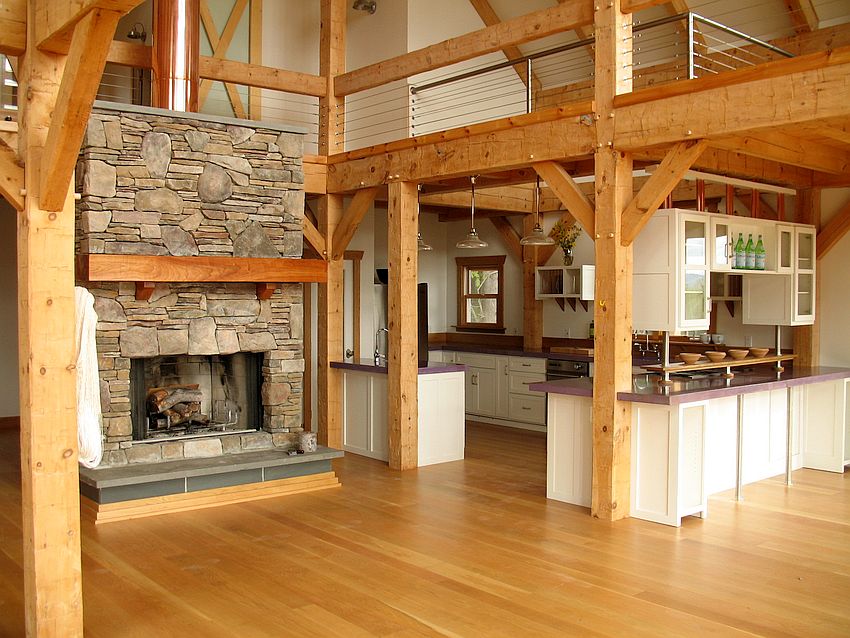
Every now and then, your interior woodwork might benefit from a fresh coat of paint, which would not only improve the visual, but also the functional aspect of the woodwork inside your home. The job is not easy and requires a lot of attention and patience, but it is far from impossible, especially when you know exactly what needs to be done and what kind of result you want to achieve.
There are some aspects of such a project that you need to be aware of and approach with due diligence if you want your woodwork to shine. If you follow the tips given here, you’re quite likely to be satisfied with the outcome and you’ll probably feel that it hasn’t been as hard as you imagined it would be.
Preparation
First of all, you need to establish whether you are going to work with bare or painted wood. Next, you should provide protection for the floor and furniture, by covering it with a dust sheet. Finally, make sure you wear protective clothing, goggles and a mask, as instructed by the manufacturer of the products and tools.
Bare wood
You’ll probably be faced with very young wood, full of sap, which could eventually leak out and destroy your woodwork, if you hadn’t treated it properly in the first place. What you should do is apply two or three coats of knotting solution, giving each coat at least 30 minutes to dry.
If there are any holes or cracks, you must fill them using a specialist wood filler. Make sure you don’t overdo it, though, since you’ll need to sand away the excess. On the other hand, if the crack is between the wall and the woodwork, you need to use caulk and again follow the manufacturer’s instructions to the letter.
Once you’ve corrected all imperfections, you’re ready to apply wood primer, which will create a surface adhesive enough for the paint to cling to. It usually takes two coats of undercoat for bare wood to be ready for further processing. Regardless of whether you go for a gloss or eggshell finish with your topcoat, a third layer of undercoat for full coverage is a must. There are also combined primer undercoat paints, but you also have to be ready to apply three or four coats.
Now that your undercoat is dry and ready, you may proceed to applying the topcoat. This should also be done thinly, starting from the top and working your way downward in order to avoid drips. One coat should suffice.
Painted wood
Depending on the condition of the woodwork, you might consider investing in a heat gun to strip the surface, but you’ll need to be extremely careful not to overdo it and burn the wood. Also, if lead paint was used on the woodwork, don’t attempt to remove it with a heat gun.
You will also need to choose a quality paint and coating stripper to help you prepare the surface for sanding the last remaining stains if any. You can use a sanding machine for this, but again, be careful not to remove too much.
The next step is to clean the area and you can do that with a damp cloth or an industrial wipe. The important thing is not to soak the wood, no matter what method you use. Once you’ve done that, you may move on to applying a thin coat of undercoat, which needs be allowed enough time to dry properly.
Finally, apply one final coat of gloss, satin or eggshell finish paint, the same way you would do if you worked with bare wood. Your patience and attention to detail should have paid off by now and you should be treated to some exquisite details if you’ve done everything according to the manufacturer’s instructions and followed expert advice.