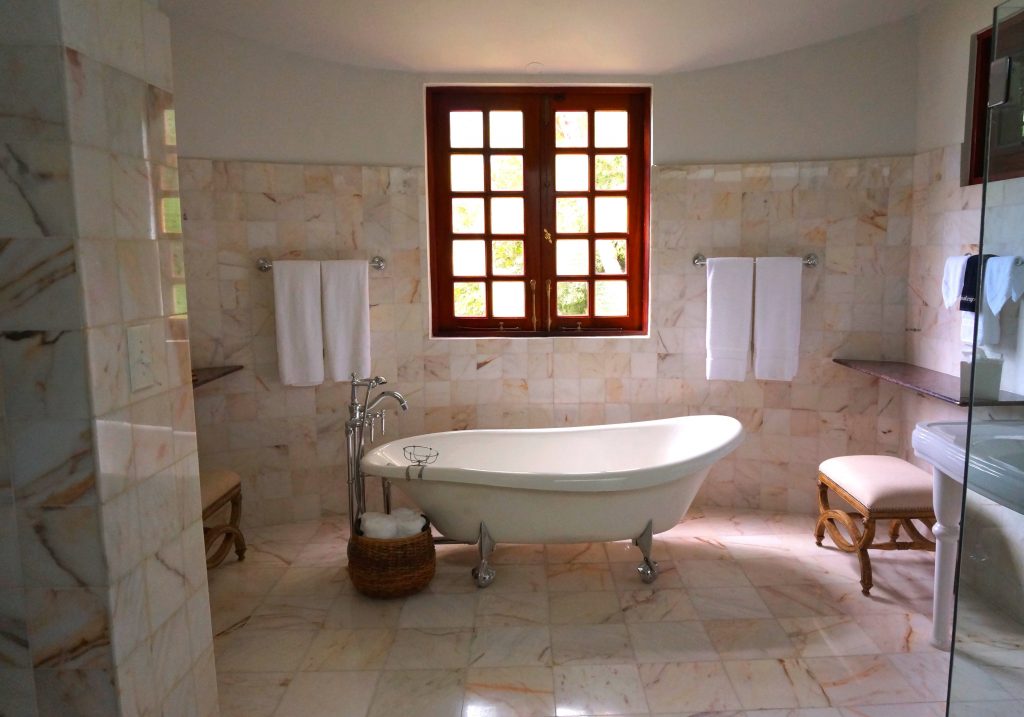
After you are all done with the linings of the ceiling and the plastering of the internal walls, waterproofing is usually the next step. You will need to waterproof your bathroom, laundry, kitchen, and powder room. You may decide to waterproof your basements (if you have one).
Australian homeowners, over time, have been victims of damage caused by waterproofing systems installed incorrectly. And to fix this, the waterproofing requirements have continued to evolve.
DIY Waterproofing
If you are wondering if you can do your waterproofing yourself, the answer is yes. However, keep in mind that as a Queensland and NSW residence, this is only possible if you have a license to do so. While you need not have a license in other states and territories, it is still important that the repairman offer guarantees in writing that the work will be according to the Australian Standard AS3740-2010 – ‘Waterproofing of domestic wet areas,’ which is the minimum standard of waterproofing protection that can be done on your house. Even when you DIY, you must attain these Standard and a secure the approval of a building inspector. Another reason to consider how and who does your waterproofing is that it may affect your insurance or warranty claims adversely. If not done the right way, waterproofing can cause severe damages to your house from water and damp.
The Process of Waterproofing
The waterproofing work in Australia entails painting a liquid rubber membrane and fixing them onto areas that are susceptible to water, thus serving as a form of a “seal.” What the waterproofing does is to ensure that water coming from leaks do not damage those areas you have waterproofing. You need to start by sealing the corners and edges with the aid of a ‘neutral cure’ silicon that is compatible with the waterproofing membrane. The next is creating a ‘bond breaker’ over these joints, with the aid of a ‘polyfab’ bandage. The flexibility of the bond breaker makes it possible for the waterproofing membrane to decouple at joints, thus ensuring that the slight movements the building experiences do not damage the membrane. You will also need to install bond breakers around drains, tap outlets, and other penetrations via the waterproofing membranes. The ideal place to affix the waterproofing membrane is under the edges of the polyfab bandage. This is to make sure that the bandage is soaked through enough so that it doesn’t fall off the wall or floor easily. Once the membrane is affixed, the next is to paint using a roller (choose the right paint roller to come out with the best results). Painting requires two coats – one coat is rolled at right angles to the other or rolling one vertically and the other horizontally.
The Ideal Places to Apply a Waterproofing
If you decide to waterproof your house, you would be targeting the places where there is a water outlet. Such areas include bathrooms, bath areas, shower stalls, kitchen’s wet areas, laundries, and areas around the taps, drains, and other penetrations.
Two factors determine the width and height of the floors and walls be waterproofed: the areas you are waterproofing and the materials used in such areas. For instance, if you want to waterproof your shower recesses, the ideal waterproofing height is 1800mm. The extent of the distance between the wall/floor and the waterproofing membrane is dependent on such factors as the size of the shower stall, partial or total enclosure of the shower stall, and the nature of the base (pre-moulded or not).
Also, the type or extent of waterproofing depends on which materials were used on the bathroom floor. For example, you will need to waterproof your bathroom floor 100% if it was made from plywood or particleboard. But if the floor is a compressed fibre cement or concrete floor, they may possess water-resistant features.
Putting the Tiles Up
After installing your waterproofing membranes and leaving it for some days to make it heal, you will proceed by putting the tiles up on the right places. In cases of a built-in shower base, it is important to fix the mortar bed or screed for the shower before putting up the tiles. Putting up the tiles isn’t too challenging, and the process is divided into the following stages.
- Selection of tiles. Picking your preferred type or style of tiles according to their level of slip resistance.
- Choosing a pattern. This is the stage where you choose your most preferred method of aligning the tiles with the wall and floor joints as well as where to lay the first tiles.
- Cutting the tiles to suit the targeted places.
- Application of mortar or tile adhesive. This is usually applied to the surface the tiles are going into, before fitting in the tiles. You must be careful while fitting in the tiles and ensure to leave gaps in-between to accommodate grouting.
- The setting of the tiles. After fitting them in, you should leave the tiles for one or two days so that they set, especially the heavier floor tiles.
- Removal of spacers. You will need to remove the spacers between the tiles and fill the spaces properly with grouting.
- Final clean-up. This is where you clean up the excess grout and the debris while leaving the grout to set on its own.
The Ideal Duration for Waterproofing and Tiling
It all depends on the number of people working on it. However, considering the compulsory waiting times for proper setting after tiling and waterproofing, you can expect the project to run for at least a week.


